How to Prevent Mold After a Flood in Your Tampa Home
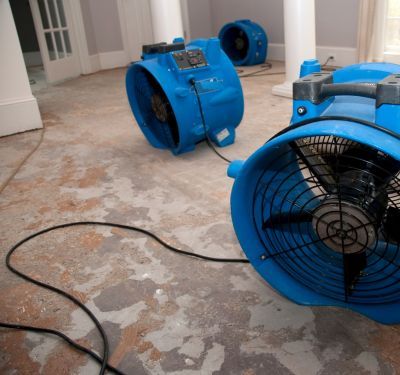
Tampa’s high flood risk means residents need effective mold prevention and removal solutions for their properties. Move all the standing water using pumps or wet vacuums and let the interior and exterior dry completely to minimize the chances of mold. Use fans to create greater airflow for faster drying. You also must dry or throw out any water-logged furniture or other personal items.
Tampa residents aren’t strangers to heavy rains and flooding in their area. Currently, 45.5% of all Tampa properties are at high risk of flooding, and, consequently, water damage. These events leave lasting consequences, even after the water is gone. Water can leave deep-penetrating damage on your property, leaving excess moisture in the floors, walls, and ceilings, which will lead to the appearance and spread of mold and mildew.
To learn how to prevent mold after a flood in your Tampa home, we’ll tell you the steps to completely remove excess moisture after a flood.
Conditions Favoring Mold Growth
Moisture is the key factor for the growing and spreading of mold. Water leaks, high humidity, and condensation create environments where mold can flourish. Keeping indoor humidity levels below 60% is a good practice to combat potential mold growth.
Most mold species prefer temperatures between 77°F and 86°F, meaning that areas like attics, basements, and bathrooms are places where mold frequently appears.
Organic materials serve as food sources for mold. This includes items like wood, drywall, and paper. If these materials become damp, they provide an ideal setting for mold to settle in.
Immediate Steps To Take After a Flood
Secure your property before starting with water removal and mold prevention. Drying your home and belongings as fast as possible is the best way to prevent mold, but it should not come before your personal safety.
Personal Safety
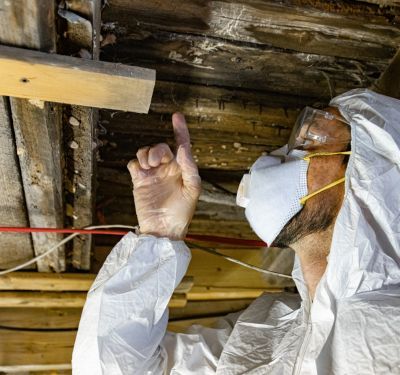
Wear full protective gear to protect yourself from contaminants. Floodwater can contain harmful bacteria, chemicals, and debris that pose health risks. Protect your hands with heavy-duty gloves, and use a mask to avoid inhaling contaminants. If the water is murky or has visible debris, consider using goggles to shield your eyes.
Electrical hazards are another concern, so don’t turn on or off any electrical components you think came into contact with water. Having a qualified electrician inspect the property before restoring power is safer. Avoid wading through flood water unless you know it’s safe.
Assessing Water Damage
Assess the water damage once you’re certain your home is safe. Start from the lowest point and systematically work your way up. Check for signs of water intrusion on walls, floors, and ceilings. Look for:
- Discoloration
- Bubbling paint
- Warped surfaces
Pay close attention to areas like basements and attics, which are often more susceptible to water damage and mold growth. Take photos and write detailed notes about the affected areas and items.
Effective Water Removal Techniques
Completely dry out every water-damaged surface to stop mold growth in your home. Remove standing water with water pumps or wet vacuums. Use a wet vacuum with a high water lift capacity and a proper filtration system to handle the excess moisture.
Remove furniture and belongings that might get in the way. Move the wet vacuum slowly across the wet surfaces, covering all areas thoroughly. Make multiple passes over the same spots for maximum extraction.
Use towels or mops to soak up residual moisture before the wet-vacuuming. Don’t forget to look for water behind appliances or under furniture. After removing the standing water, inspect the space for any items needing disposal, such as carpets or upholstery.
Drying Out Your Home
Open windows and doors to create a fresh air flow, which helps reduce humidity levels. Strategically place fans toward walls, floors, and furniture to increase airflow around wet areas and help moisture evaporate quickly.
Dehumidifiers can also further speed up the drying process by drawing out any extra moisture. Set the dehumidifier to a low setting for continuous operation, emptying the tank regularly to maintain efficiency. Use heat sources, like heaters or heat lamps, to assist in drying affected areas, but don’t place them too close to flammable materials.
Cleaning and Disinfecting Affected Areas
Bleach has strong disinfecting properties, kills mold on non-porous surfaces, and lightens stains. However, it’s essential to note that bleach doesn’t penetrate porous materials like wood or drywall, which can allow mold to return. On the other hand, vinegar offers a more natural solution. It can kill most mold species and works well on various surfaces, including fabrics and carpets.
You also have options like hydrogen peroxide and commercial mold removers. Hydrogen peroxide can kill mold and mildew but may discolor some surfaces. Commercial cleaners can be specially formulated to tackle mold but often contain harsh chemicals, so it’s wise to read labels carefully.
Proper Cleaning Techniques
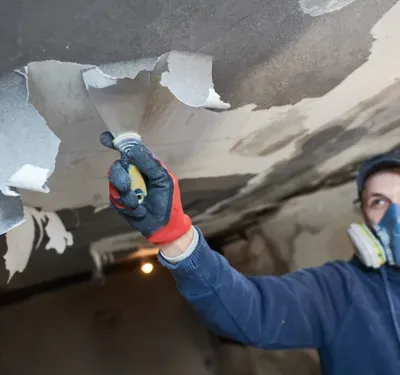
To effectively clean affected areas, gather your gloves, masks, scrub brushes, and your chosen cleaning solution. For hard surfaces:
- Spray the solution directly onto the moldy area
- Let it sit for a while
- Scrub away the mold
- Rinse the area with clean water
- Dry it thoroughly afterward
For porous surfaces like drywall or carpet, you may need to replace the material if it’s heavily infested. To clean it, apply vinegar or a commercial solution and scrub gently. After cleaning, let the area dry completely.
Long-Term Mold Prevention Strategies
Monitoring humidity levels and keeping them between 30% and 50% is how you keep mold from returning. Use a hygrometer to measure these levels regularly.
- Get a dehumidifier to better control indoor moisture
- Ventilate your home well by opening windows
- Always use the exhaust fans in kitchens and bathrooms
- Regularly check and identify leaks in plumbing and appliances
- Seal gaps in windows and doors to keep humidity levels steady
- Clean gutters and downspouts to prevent water accumulation
- Check the roofing for any missing shingles or damage
- Examine your foundation for cracks that could allow water to enter
- Check that the ground slopes away from your foundation to direct rainwater away
- Plant shrubs and trees at an appropriate distance from your home
When to Seek Professional Help
Mold can be tricky to spot but look for clear signs like musty odors, visible mold growth, or water stains. Before committing to one mold remediation specialist, take their experience and certifications into consideration. Verify that they are licensed and insured and ask for references to gauge their success and reliability.
Inquire about their remediation methods and if they follow industry guidelines. Request an itemized quote outlining the work scope, timelines, and costs. Finally, they should provide post-remediation follow-up to confirm that the problem is resolved.
Get Rid Of Your Mold Problem Immediately
One of the most lasting consequences of flooding is the appearance of mold. But don’t worry! Tampa Emergency Restoration Pros are always available to eliminate any residual mold issues in your house.
We offer comprehensive mold testing, removal, and remediation services. Our team will find every possible spot where mold can hide and eliminate it completely. We have over 20 years of experience keeping Tampa properties mold-free, so give us a call today!
FAQ
Where is mold most likely to appear after a flood?
Mold typically develops in damp areas like basements, bathrooms, and kitchens. It thrives on wood, drywall, and carpets, especially if they remain wet for over 24 hours.
How can I tell when my property is dry enough for mold remediation?
Check moisture levels with a hygrometer. A reading below 60% relative humidity indicates dryness. Ensure all surfaces are dry to the touch, especially in hidden spots. You may also want to use fans and dehumidifiers to accelerate the drying process before starting mold remediation.
How long before mold appears after flooding?
Mold can develop within 24 to 48 hours after a flood. Factors like warmth, humidity, and organic material availability can speed up this process. Promptly addressing water damage is key to preventing mold growth.
Other Blogs You May Be Interested In
Categories
